Welcome to an all new edition of Parlay Points, the comic book review blog to the ODPH podcast!
For this entry, it’s time to say goodbye to a pair of high-flying fugitives in the pages of one of Comixology Originals best series (via the Best Jackett Press line). BARNSTORMERS by Scott Snyder, Tula Lotay, Dee Cunniffe and Richard Starkings has introduced readers into the world of Bix and Tillie, who’s been dodging danger since their initial introduction. The pair of unlikely partners turned lovers has taken fans on a dramatic roller-coaster bringing everything to a fever pitch with last issue’s game-changing moment. Now at issue #5, Can the pair out make it out of this situation to fly another day? Let’s not delay any longer and dive into the series finale, shall we?

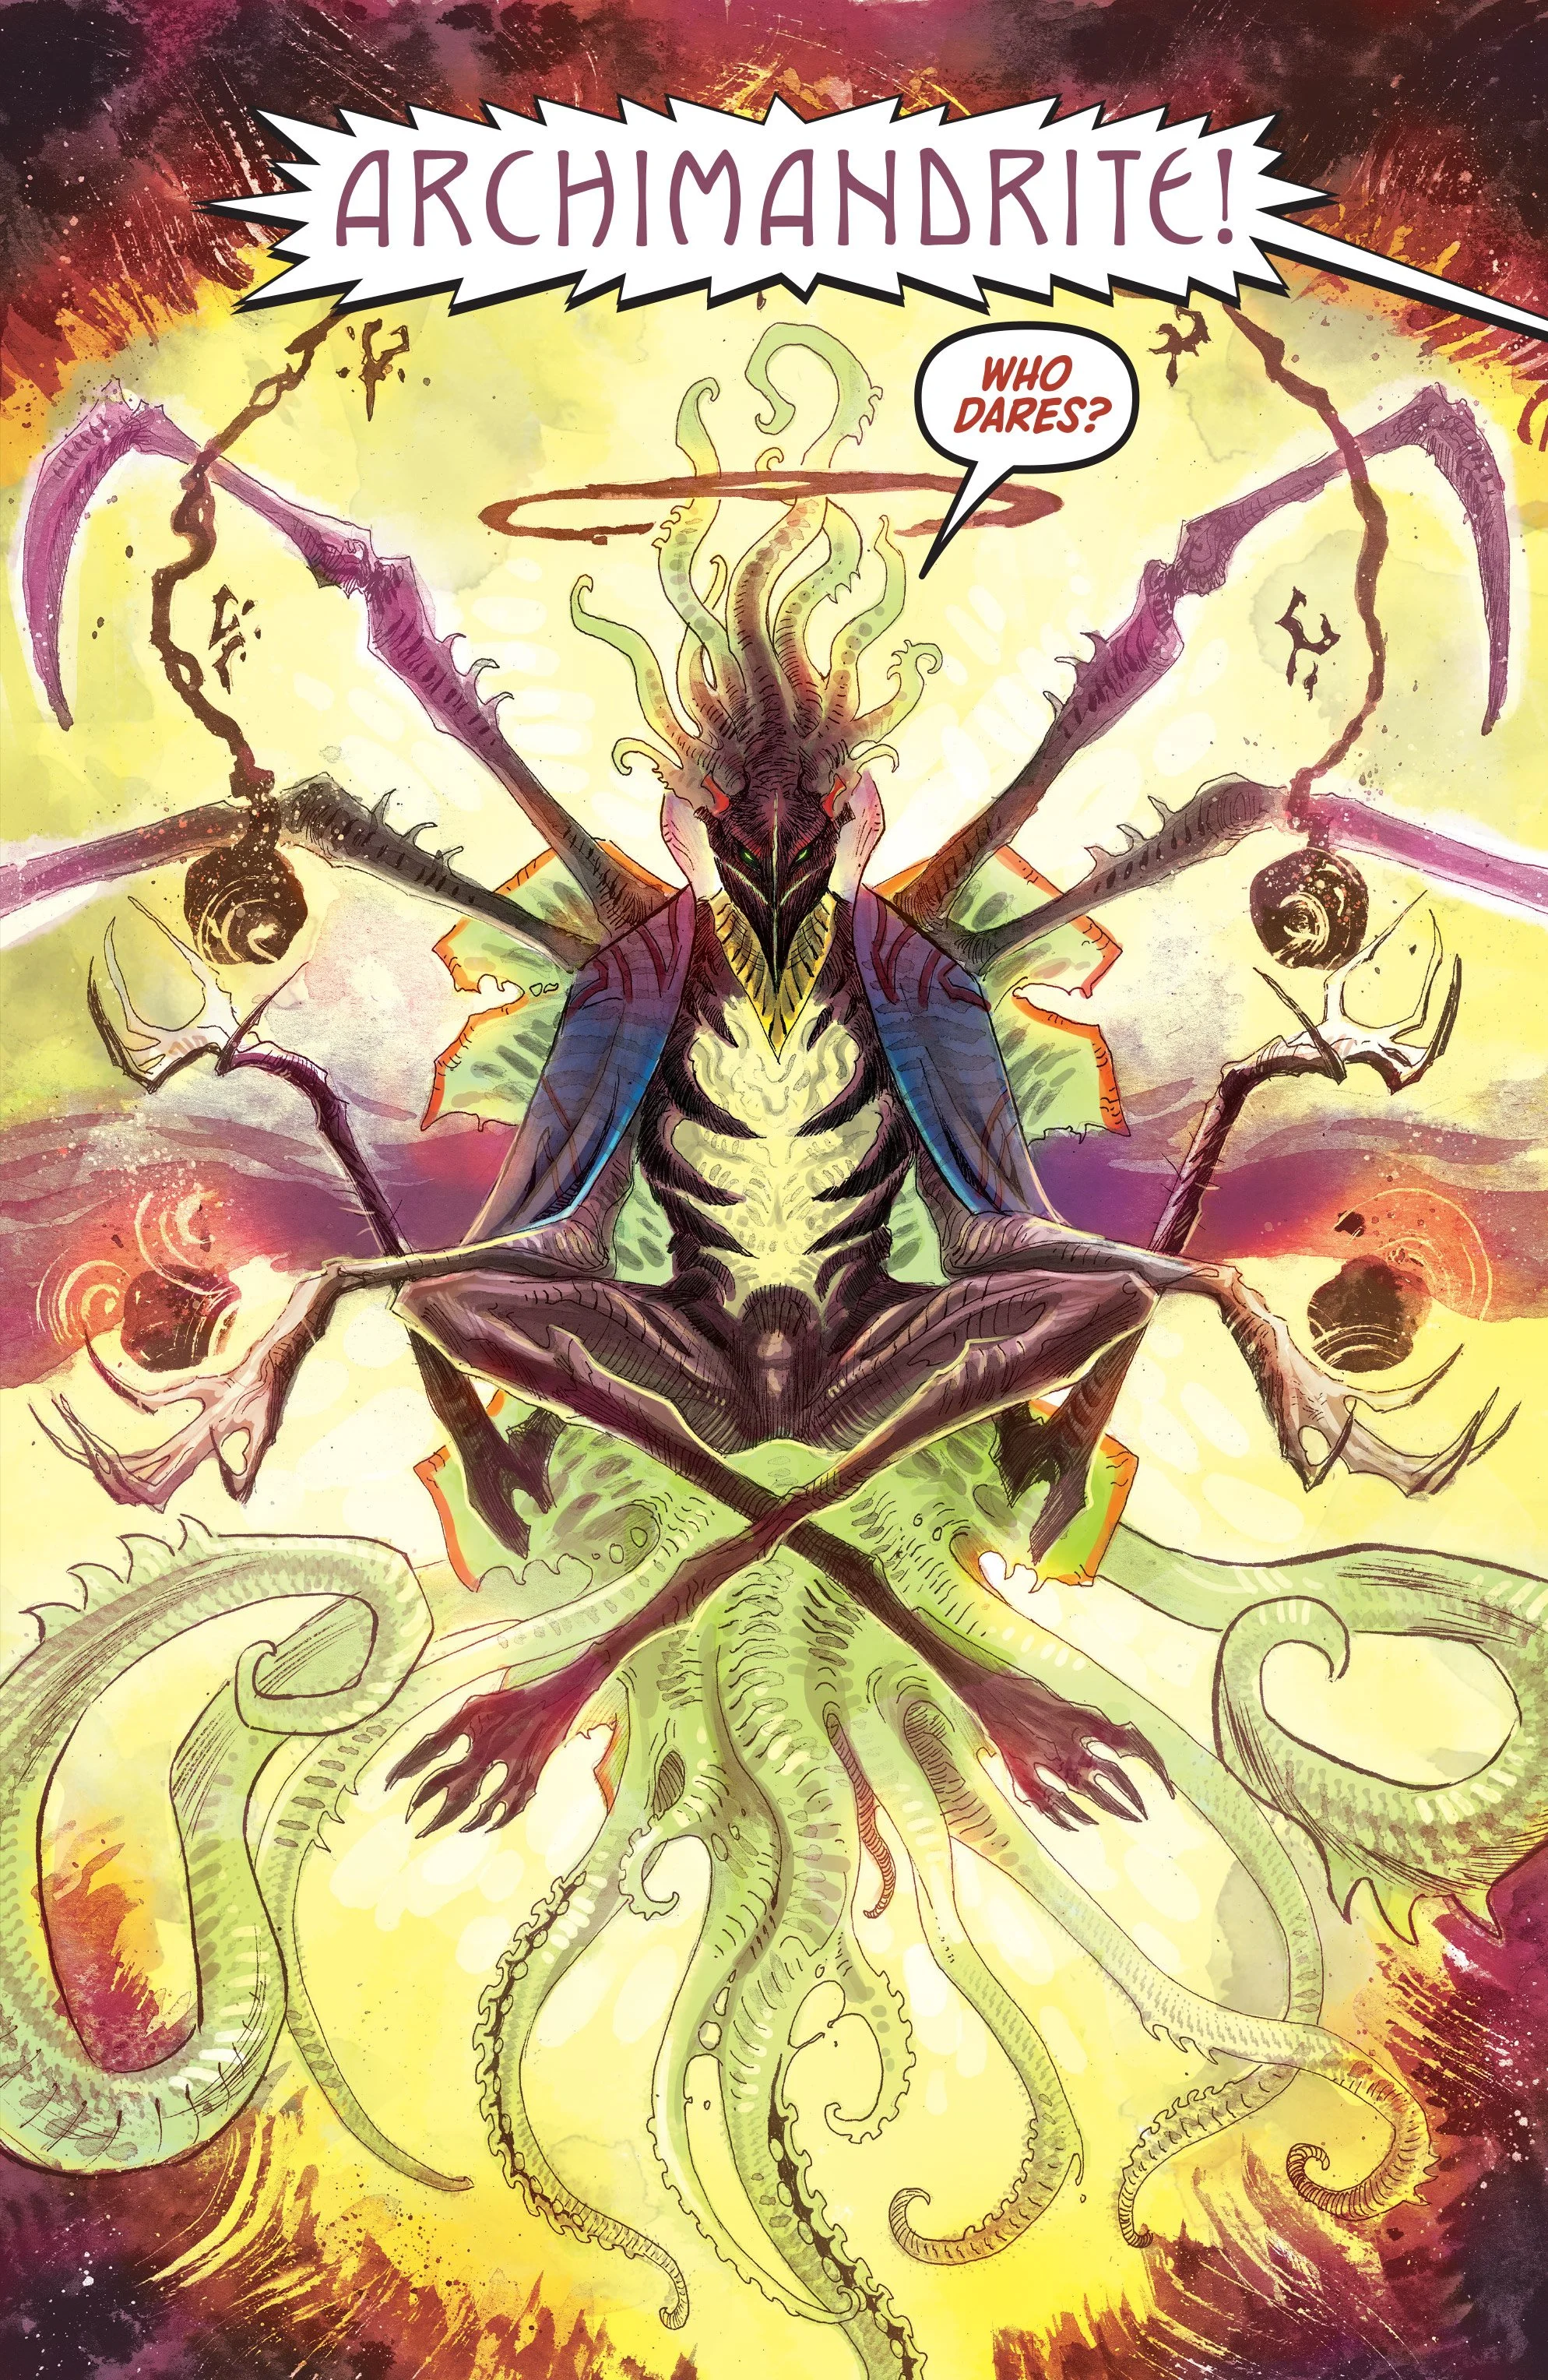
Barnstormers #5
Creative by Scott Snyder, Tula Lotay, Dee Cunniffe and Richard Starkings
Photo Credit: Comixology Originals via Best Jackett Press.

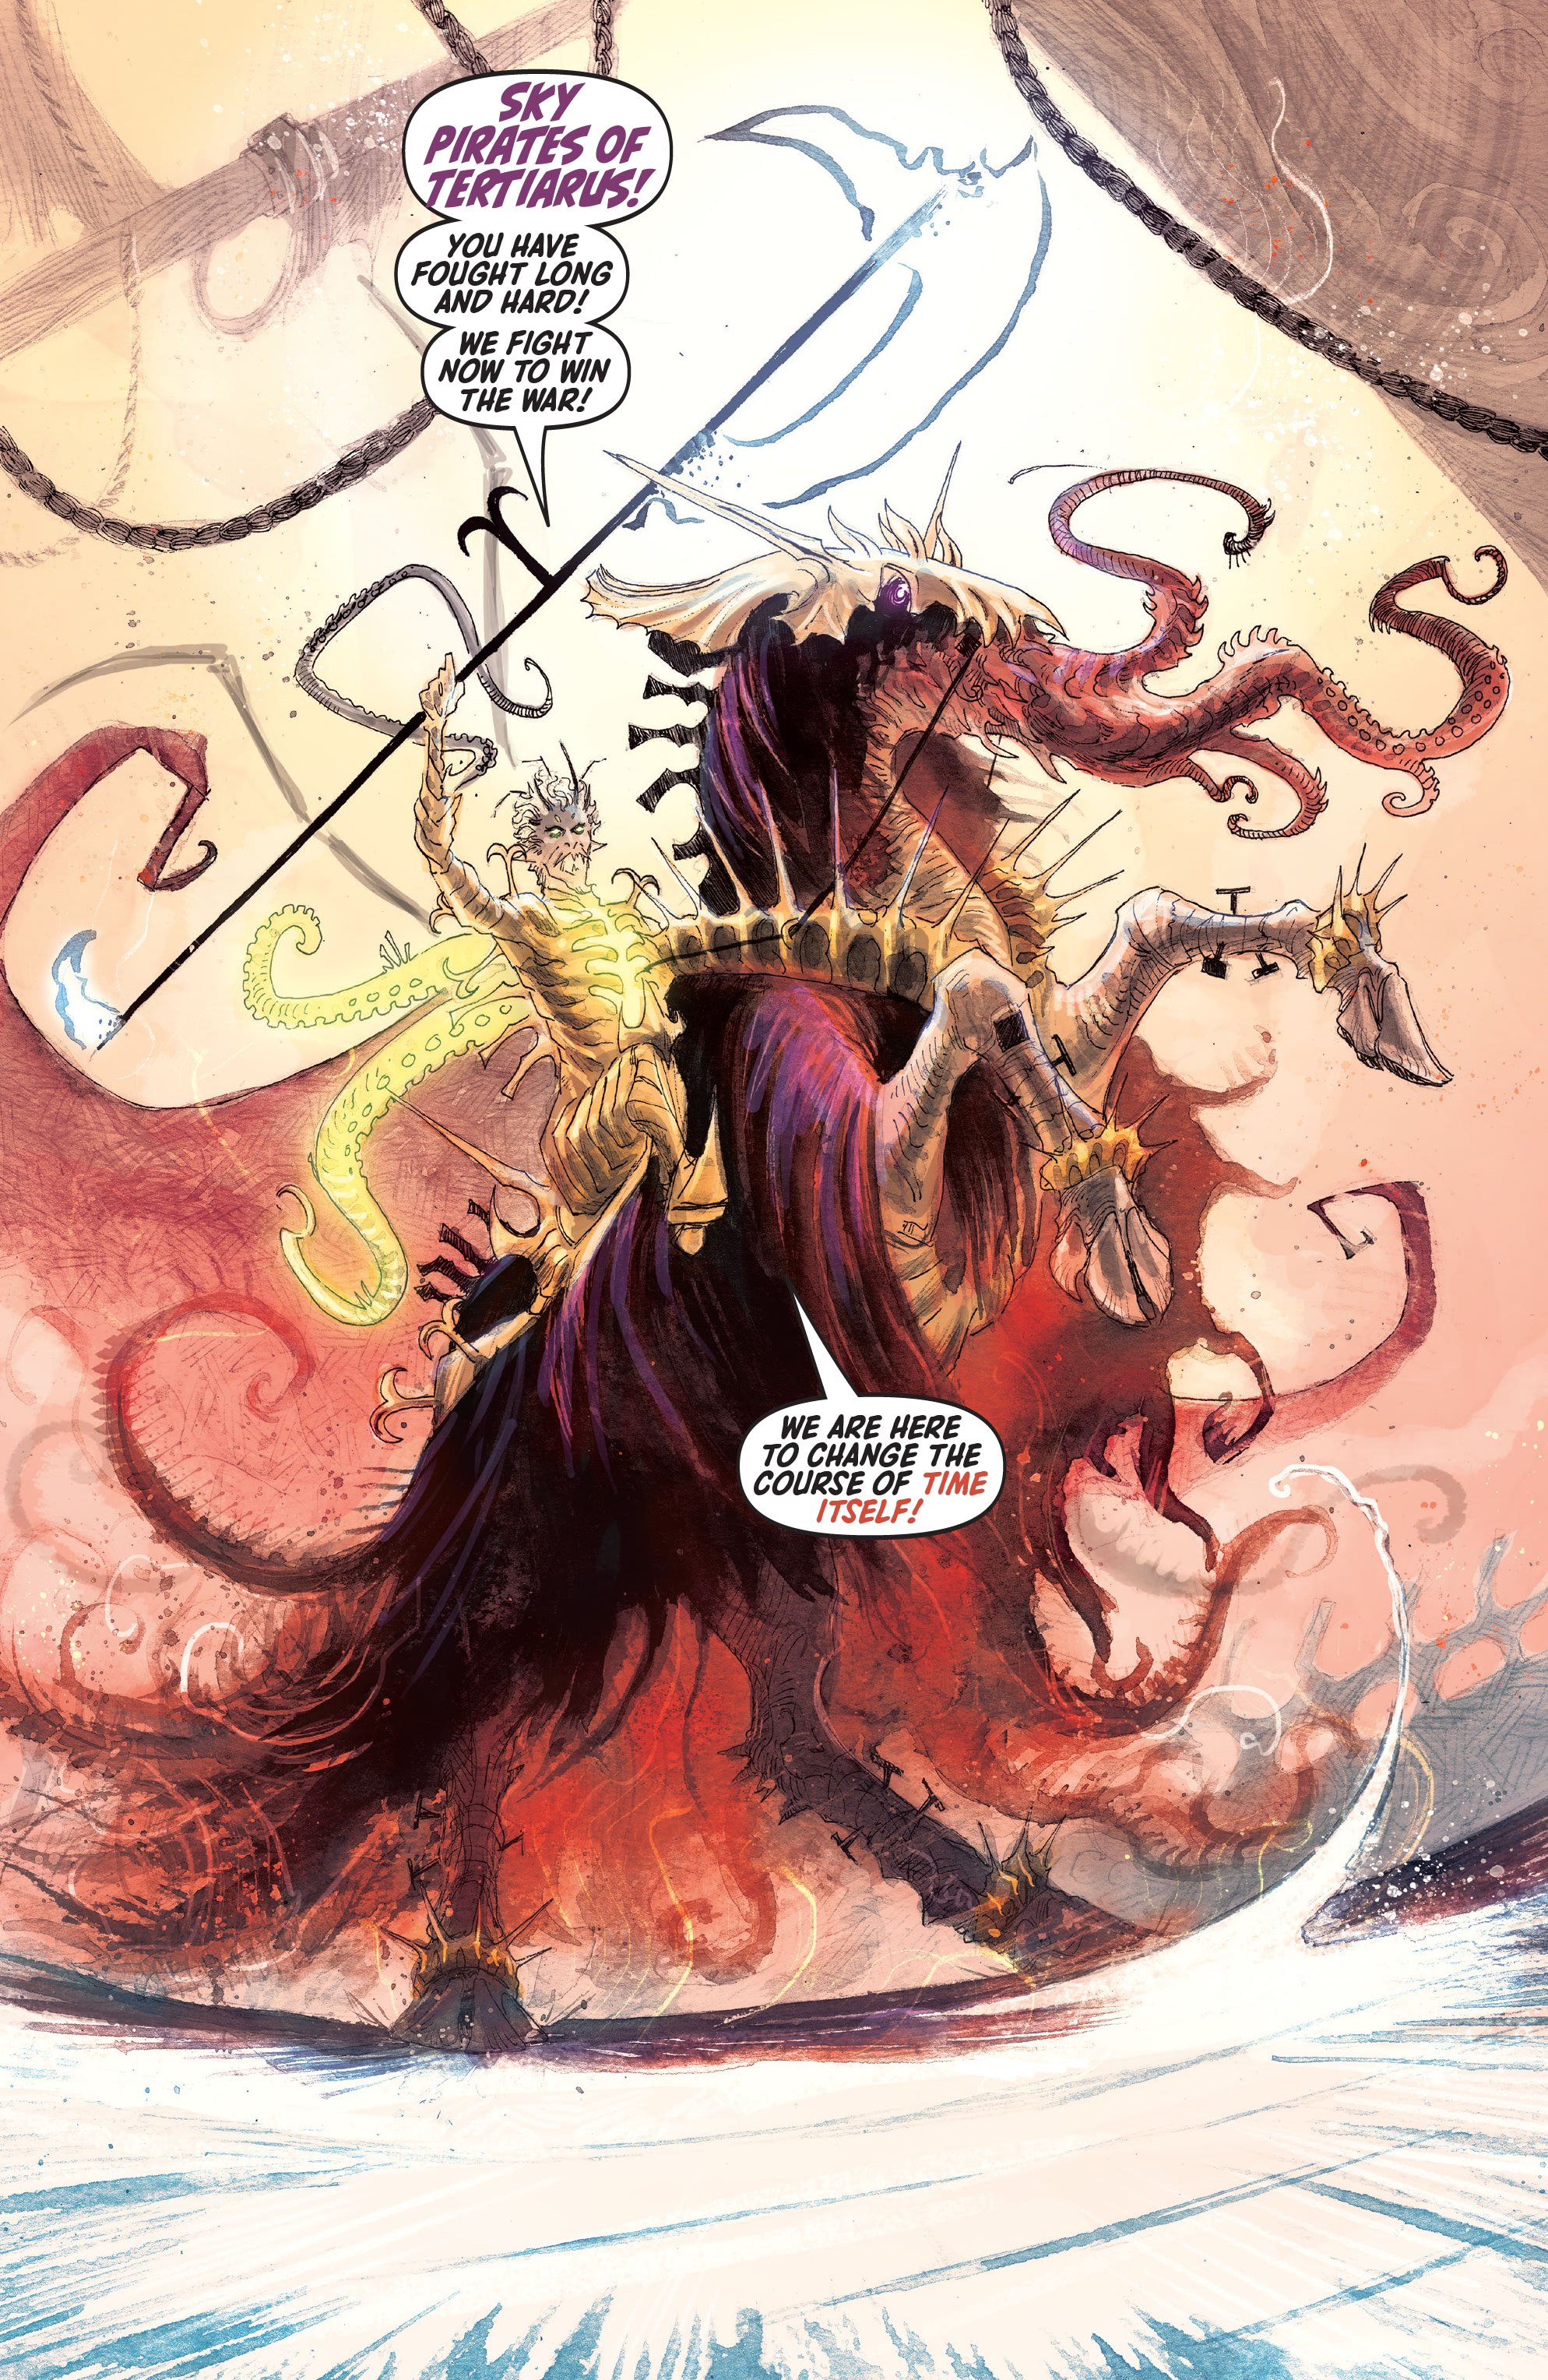
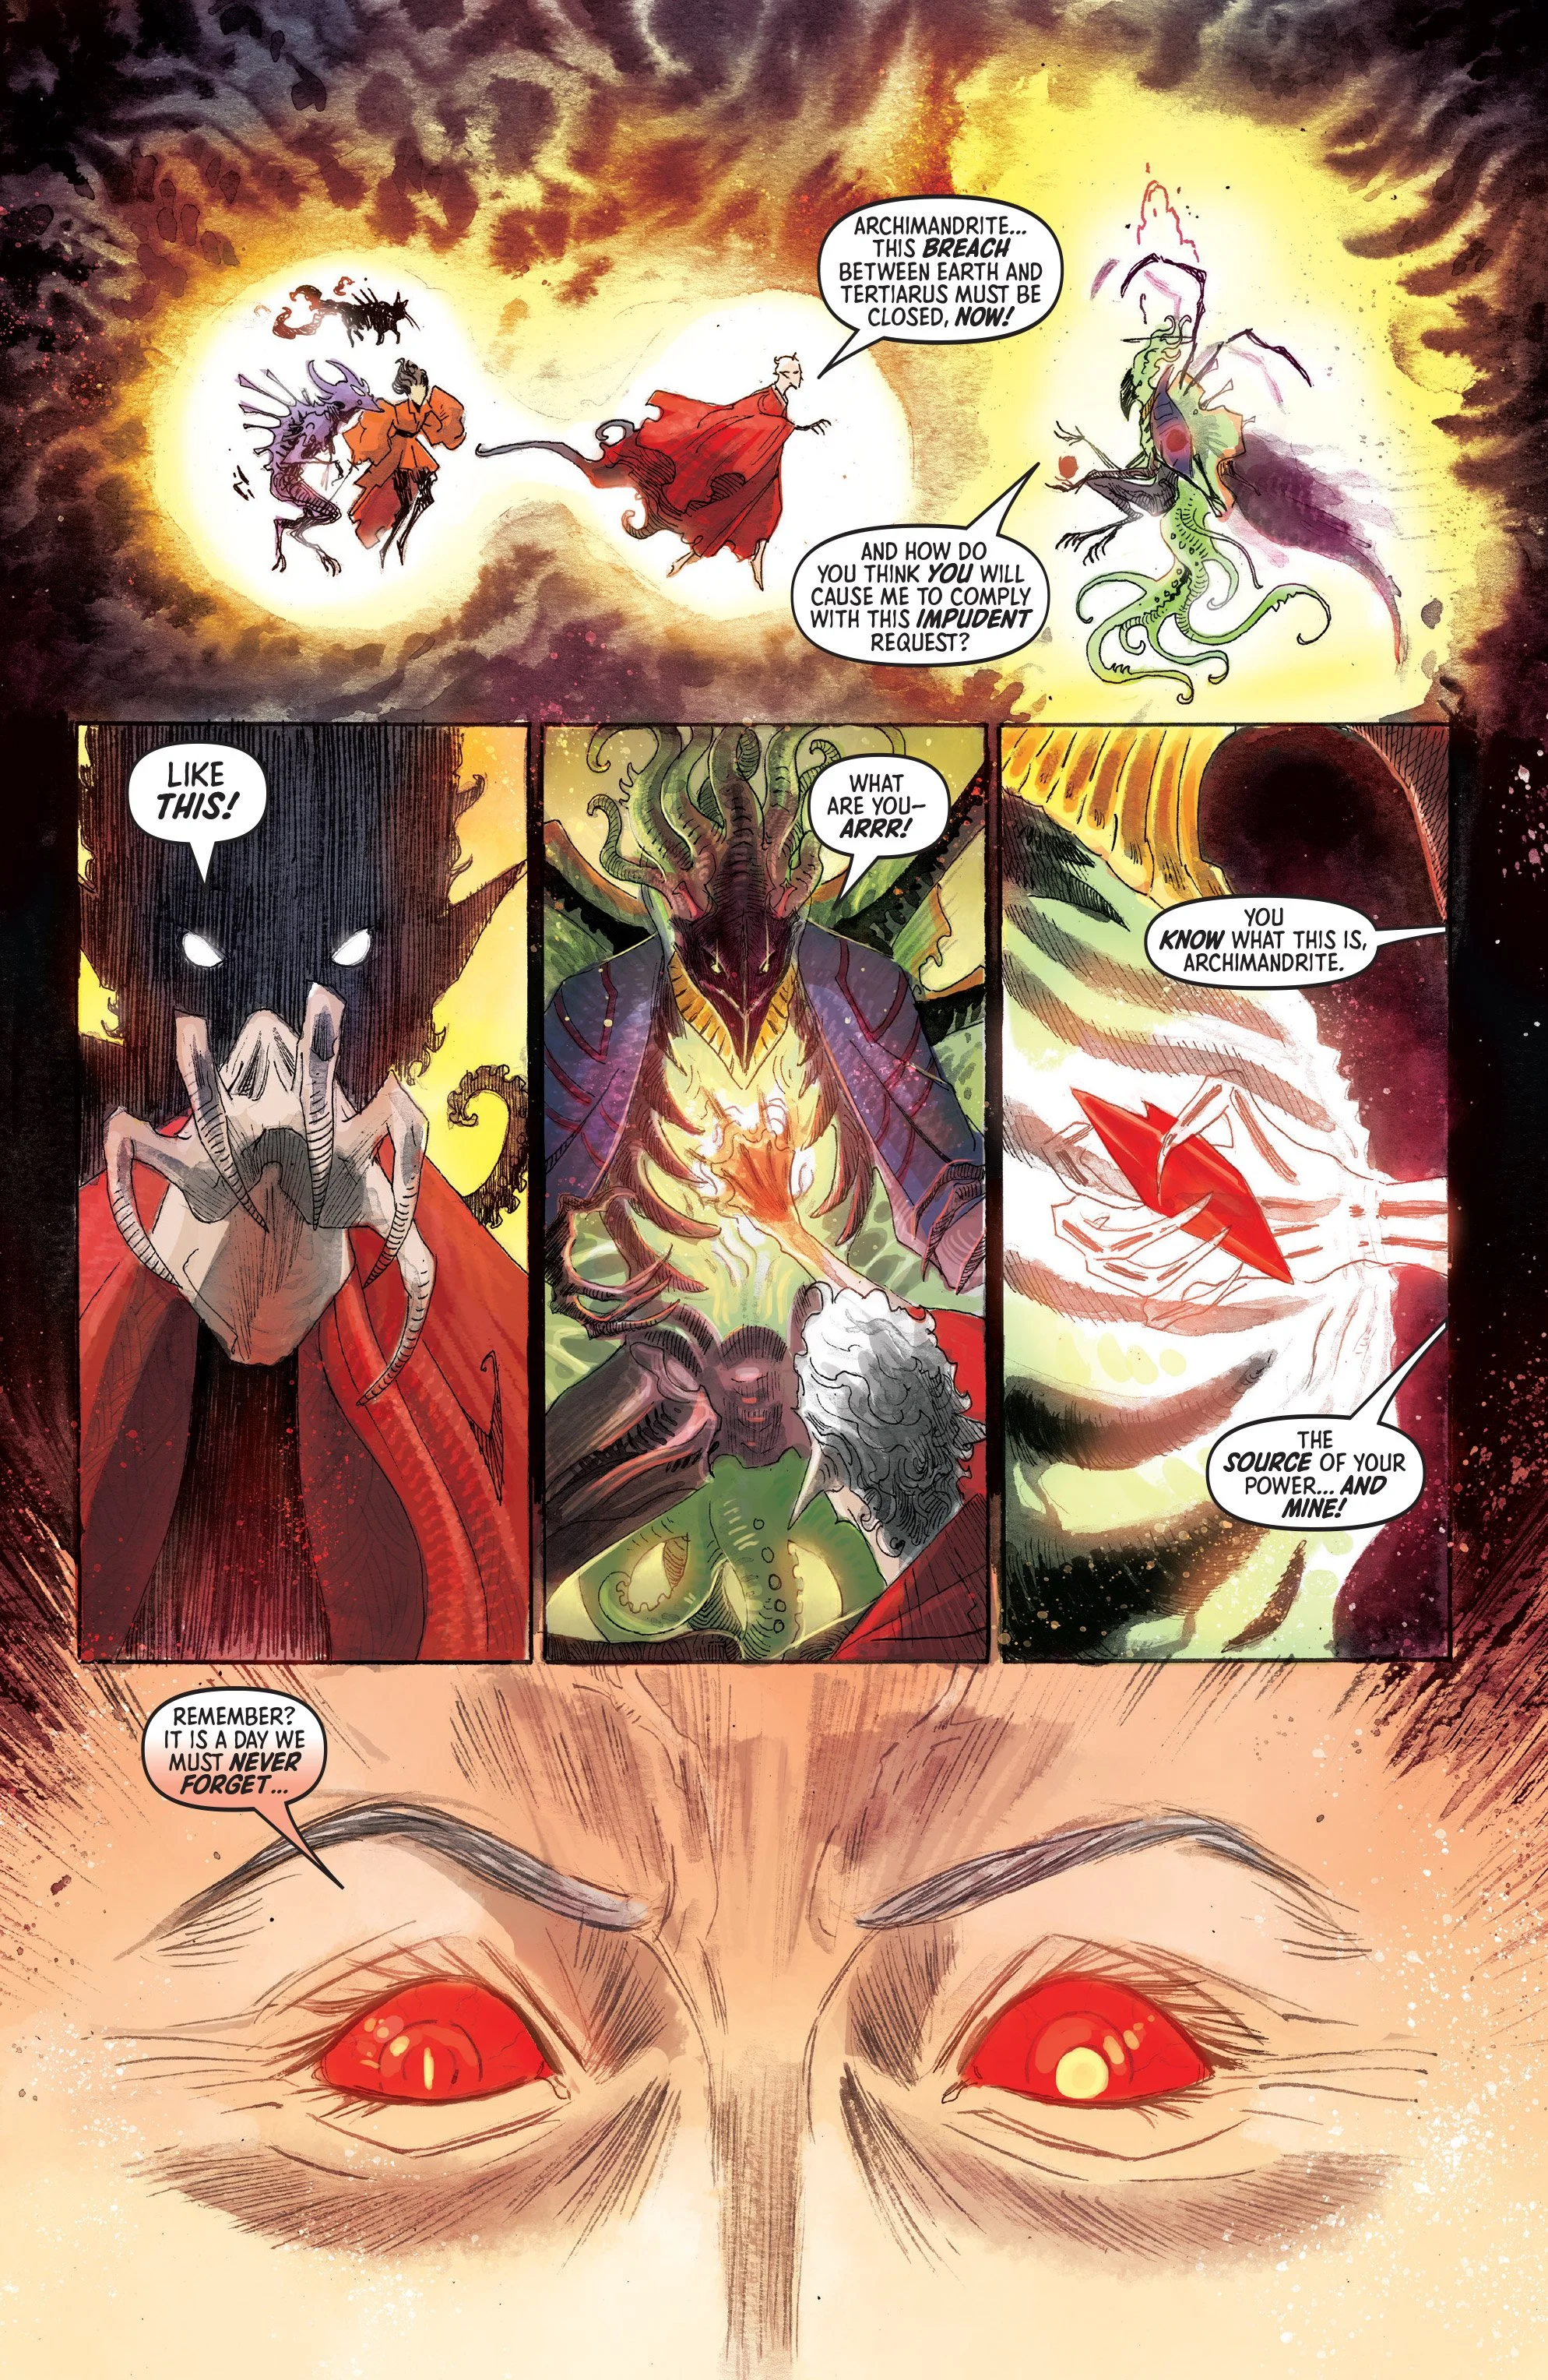
Barnstormers #5
Creative by Scott Snyder, Tula Lotay, Dee Cunniffe and Richard Starkings
Photo Credit: Comixology Originals via Best Jackett Press.
*** POSSIBLE SPOILER WARNING ***
Post World War 1, Hawk E. Baron aka Bix has taken up being an aeriel showman as a way to make ends meat. On one fateful flight, little did he know how fast his life would change. Bix becomes an unlikely wedding crasher as he inadvertently disrupts the wedding of Peyton Carlyle and Tillie. Considering his family is very wealthy, Peyton shows he is not one to take kindly to this type of accident and imprisons Bix on the family’s property.
However, Bix has an unlikely ally in this mess: Tillie, who winds up freeing him and join him on the escape from the Carlyle estate! With the pair now on the run, there is no escape from the consequences of their actions in Peyton’s eyes. Peyton hires Zeke West to bring Tillie back, but little does he realize that she doesn’t want to. Tillie and Bix become a pair of thieves as they steal from the wealthy while falling in love along the way. With the emotions building, a fateful encounter at a mansion party in Florida causes the situation to spiral further out of control.
When Peyton runs into the pair, his rage takes over as he begins firing a gun at them inside the mansion. One missed shot causes a deadly fire that the high-flying pair is blamed for. In a moment of panic, Tillie knocks Bix out and turns herself back over to Peyton and Zeke thinking this will solve all the problems.
Unfortunately, this isn’t the case as Peyton isn’t going to forgive and forget. Bix makes a heroic attempt to rescue Tillie but it doesn’t go exactly as planned. After hitting Tillie in a fit of rage, Peyton starts fighting and gaining the upper hand on Bix. However, during the fight, Peyton loses his gun and is killed by Tillie!
This issue picks right up in the aftermath of Peyton’s death. Zeke is at the morgue preparing on what his next move is going to be. With reporters asking questions surrounding a wealthy socialite’s death, Zeke gives no answers as he mentally prepares for the showdown with Bix and Tillie.
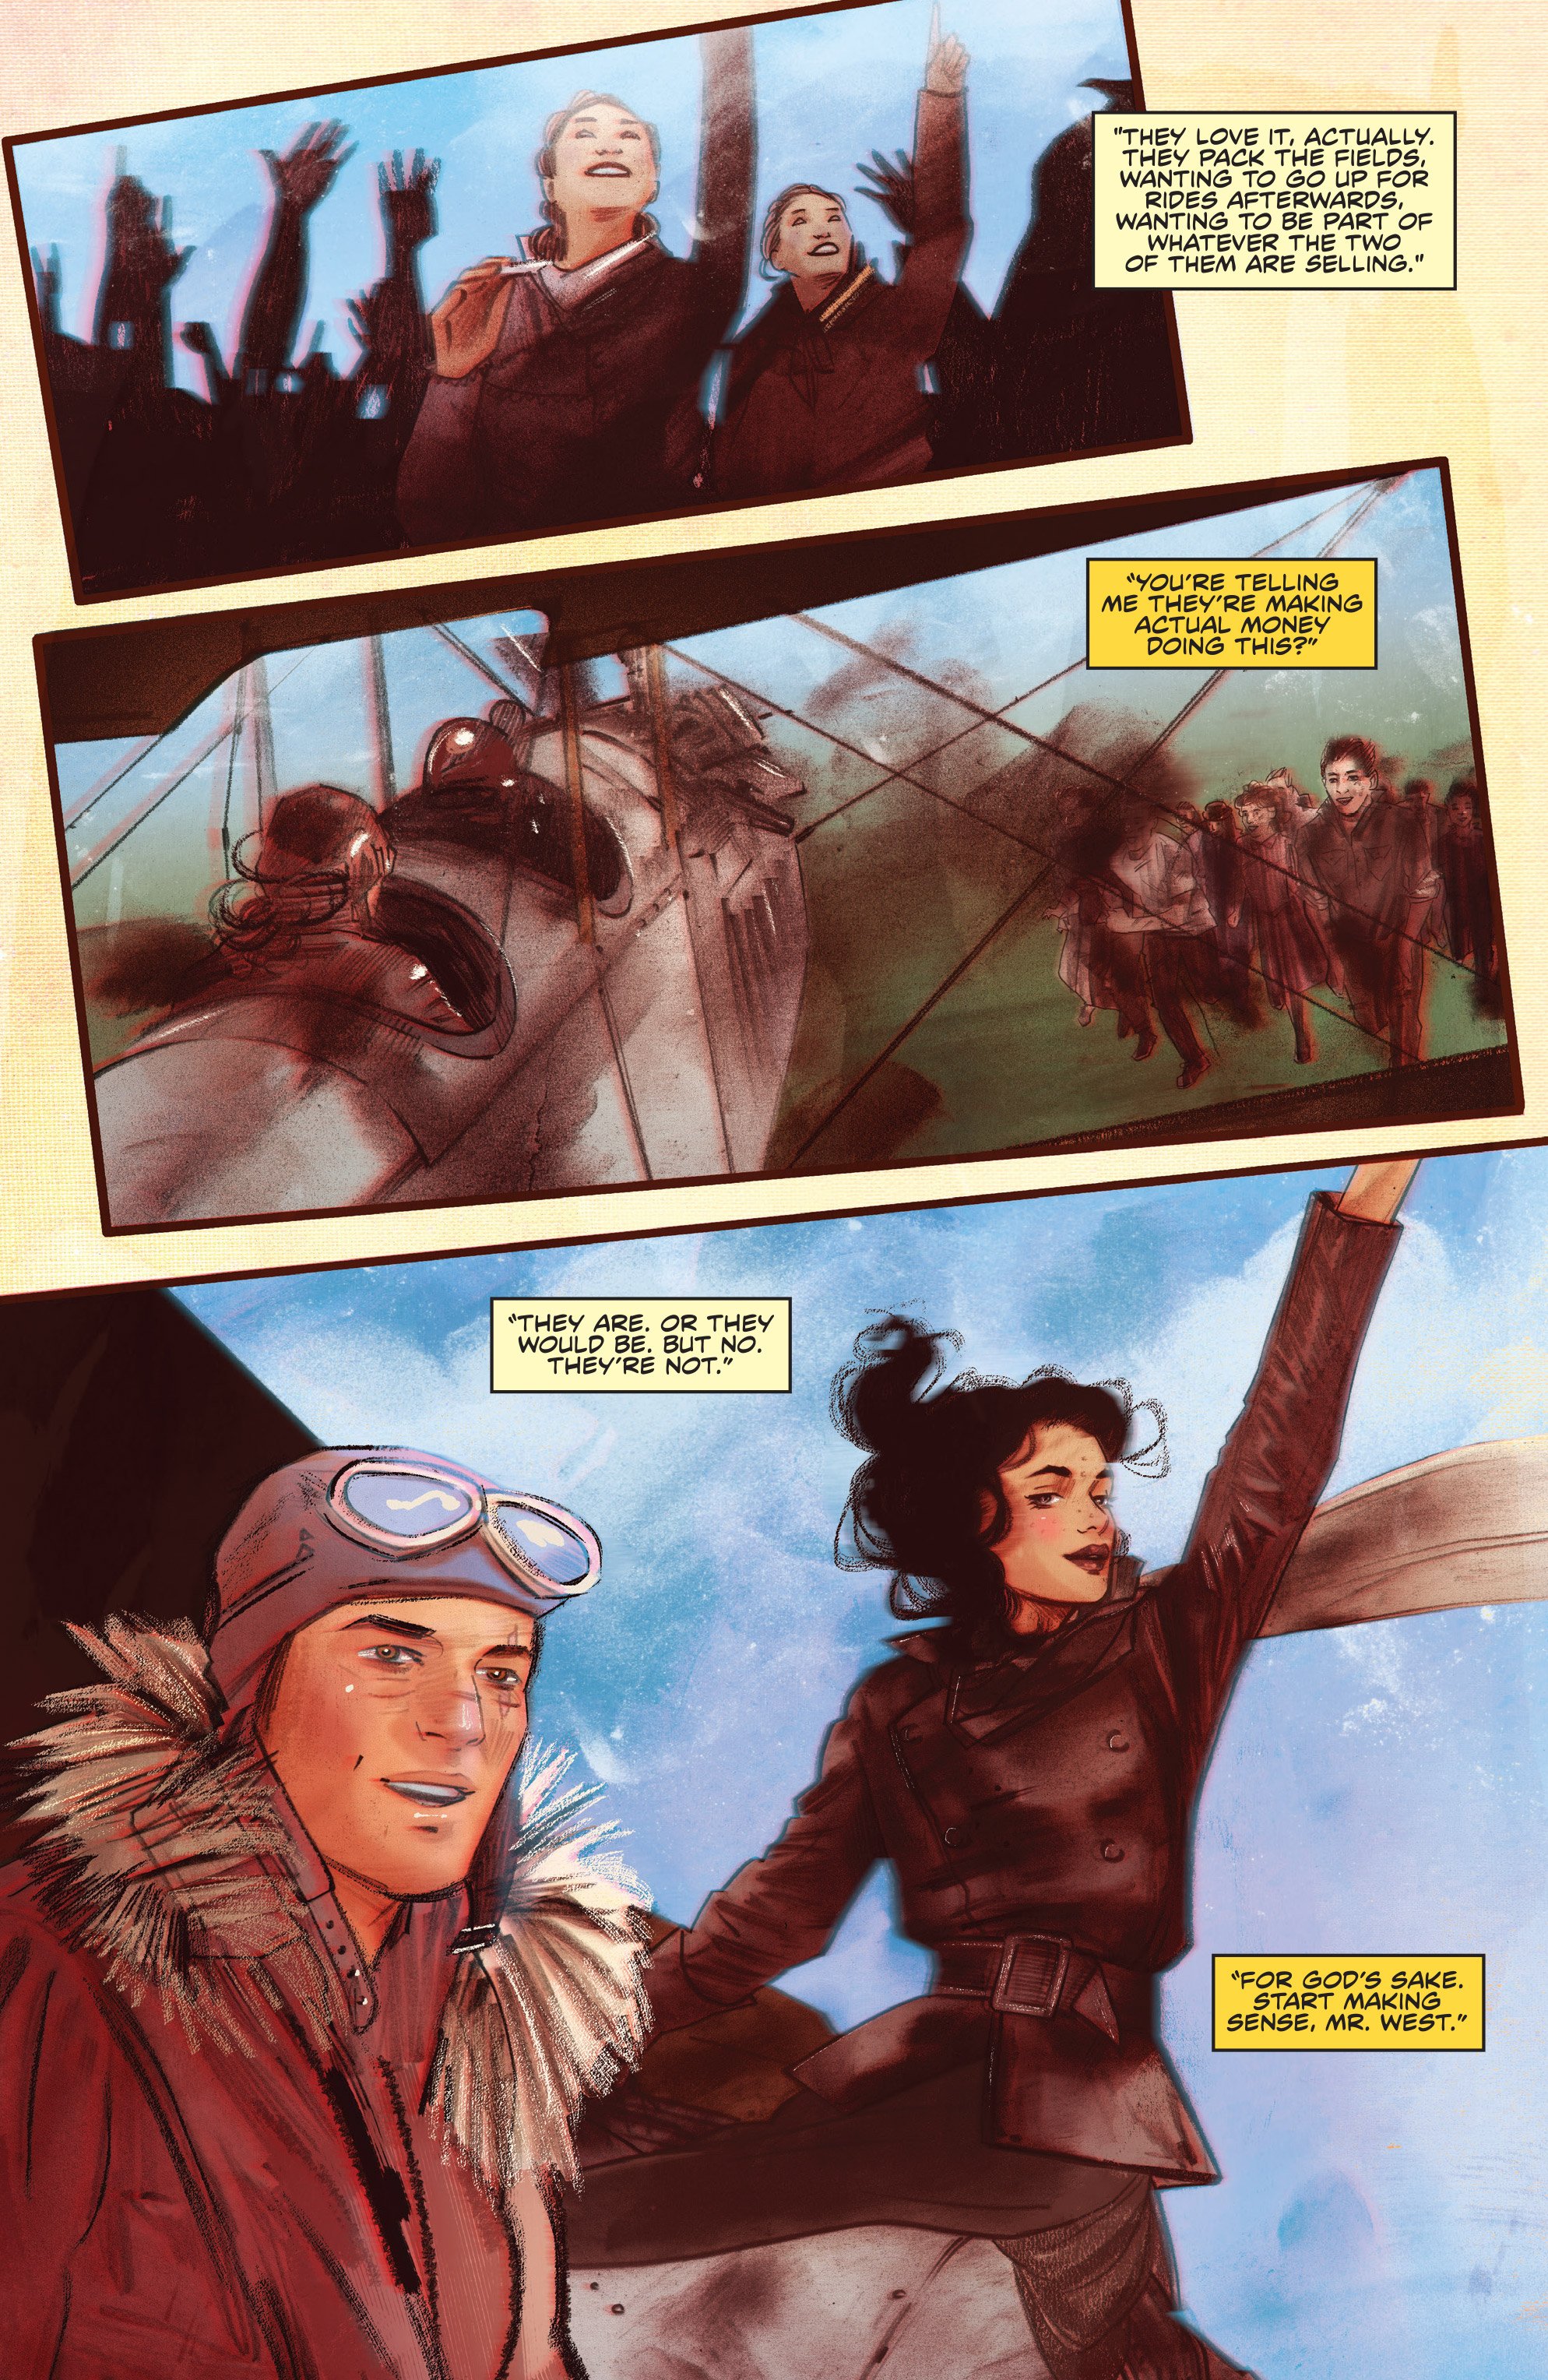
Meanwhile, Bix and Tillie resume their flying ways and have to make a stop by an airshow to refuel. Bix has a belief about fellow Barnstormers watching out for each other. Being spotted as public fugitives is a risk they take when they land. Readers find out if Bix’s theory is true as the pair prepares for their greatest spectacle yet.
There is no shortage of drama as the pair makes their latest escape from a growing past while trying to fly away into a better tomorrow. Without question, when all is said and done, readers will have a satisfying conclusion for this epic tale.

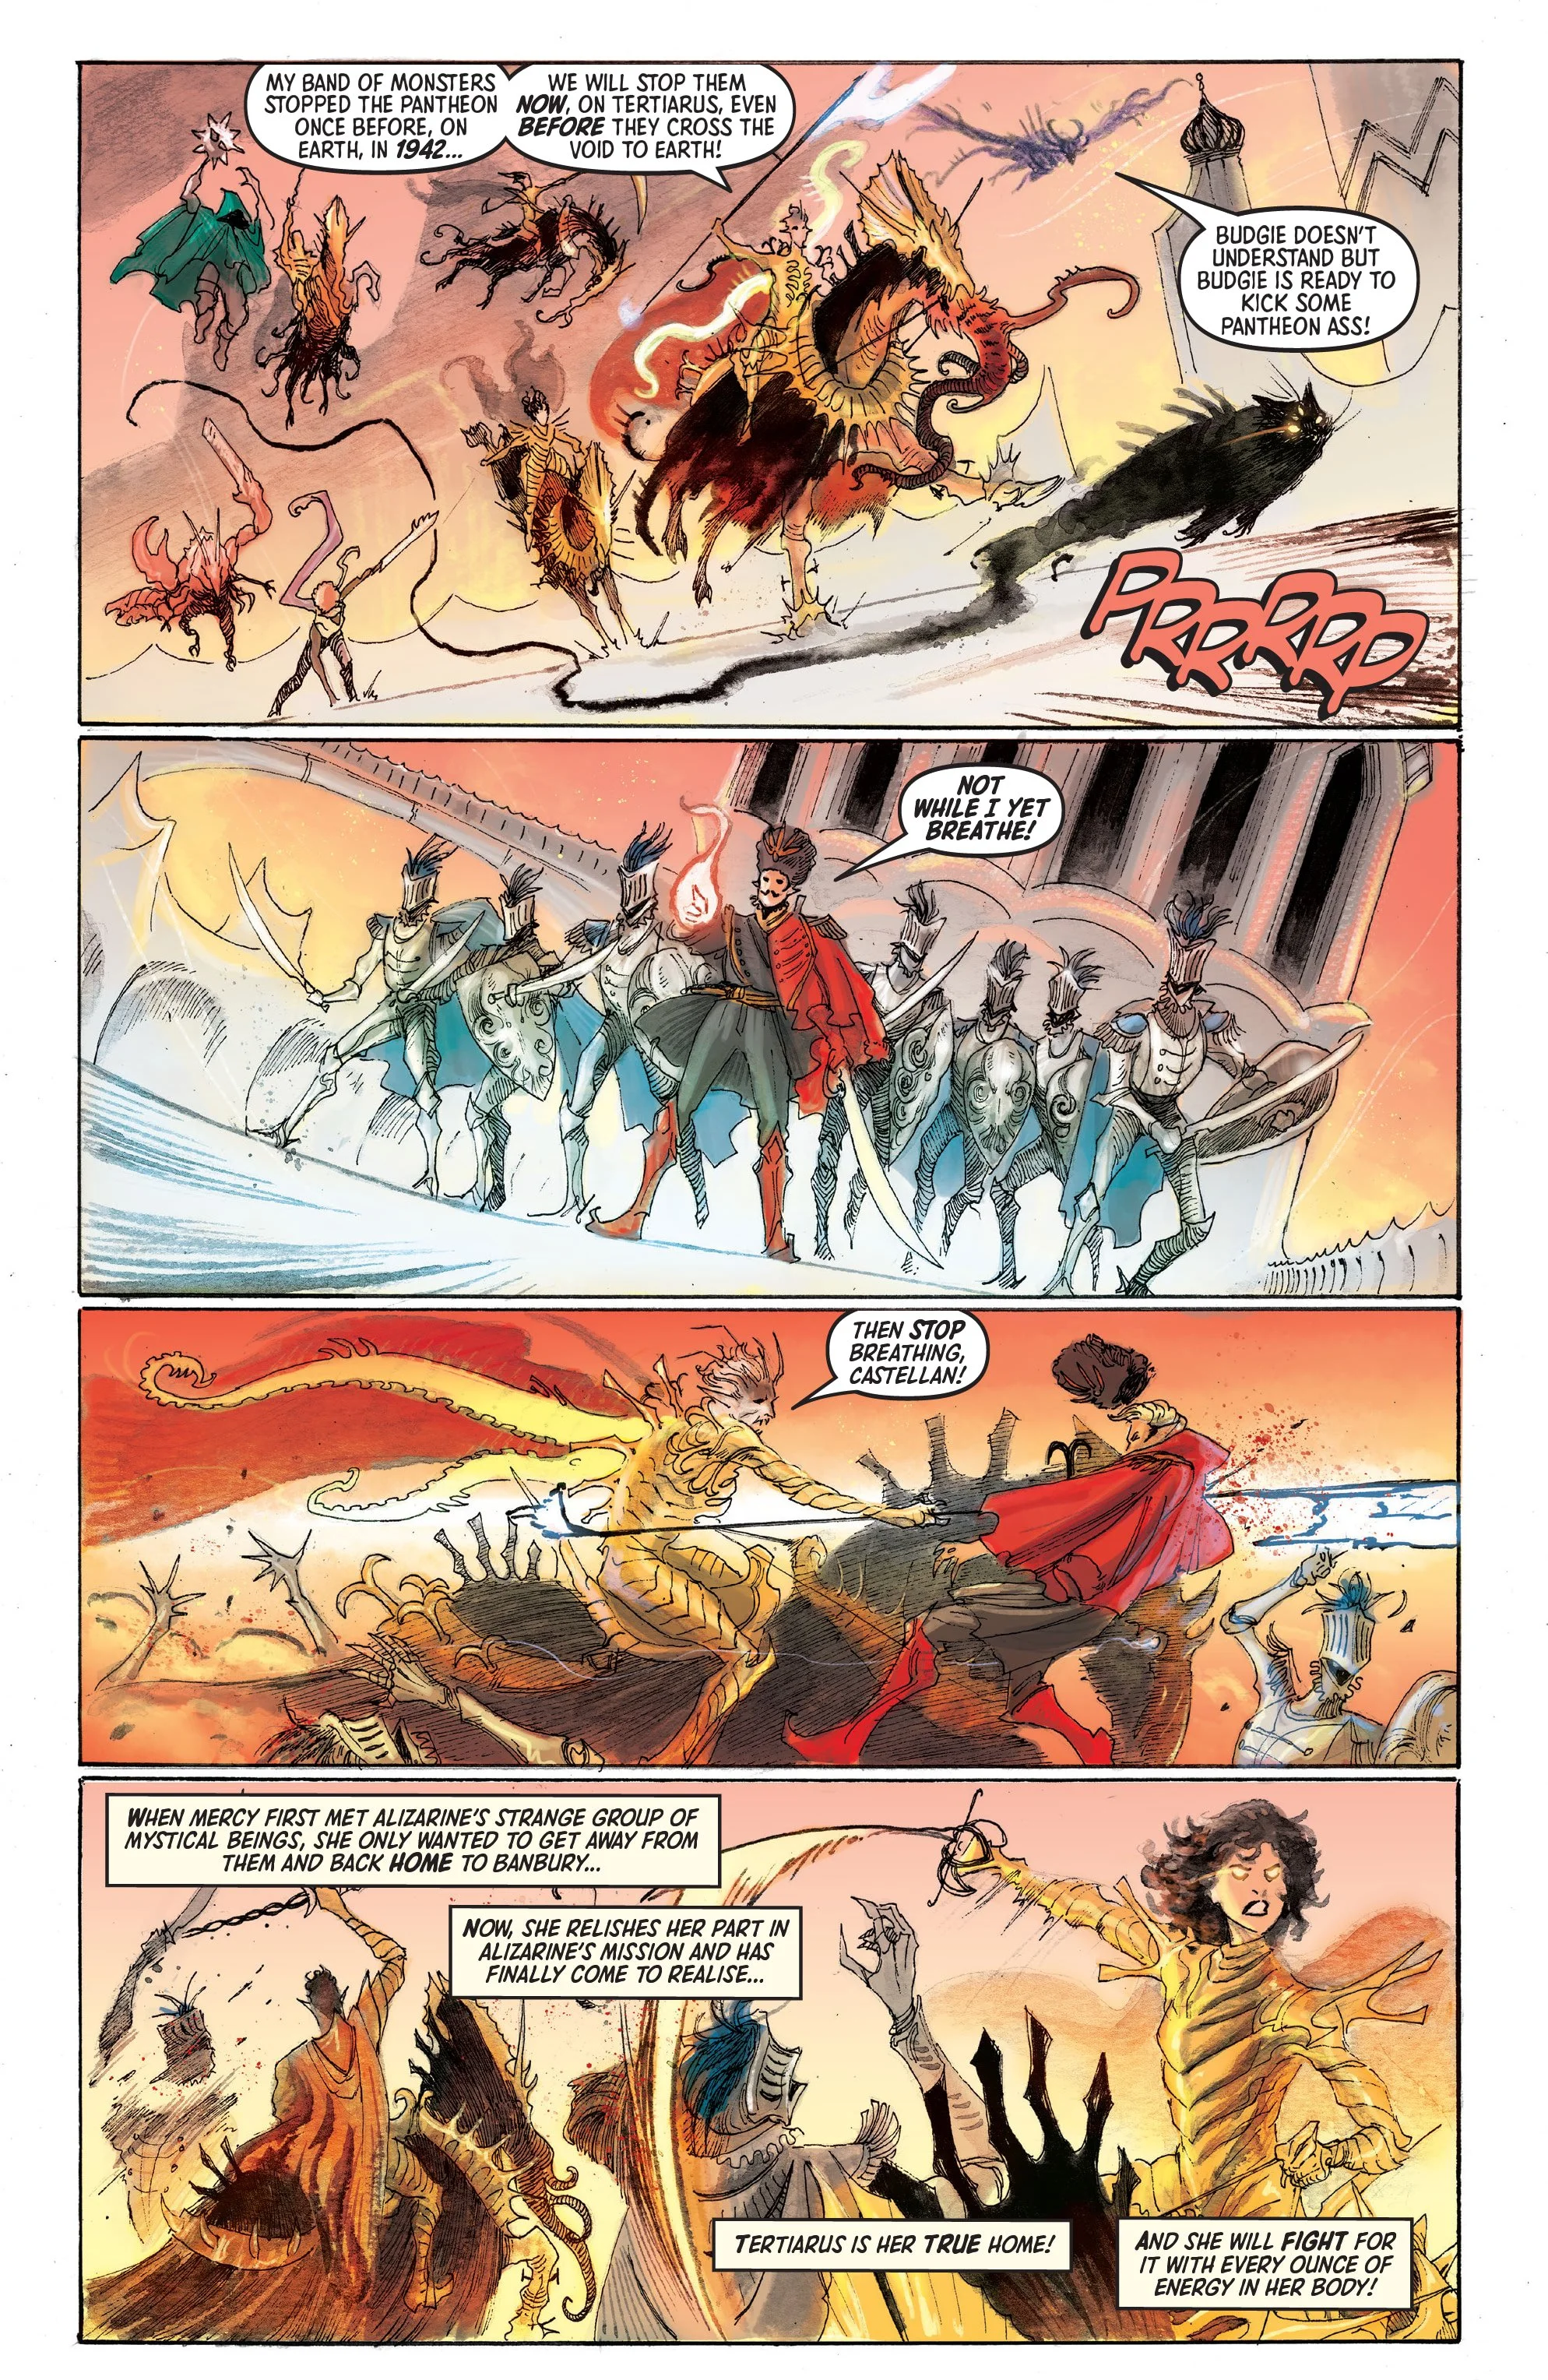
Barnstormers #5
Creative by Scott Snyder, Tula Lotay, Dee Cunniffe and Richard Starkings
Photo Credit: Comixology Originals via Best Jackett Press.

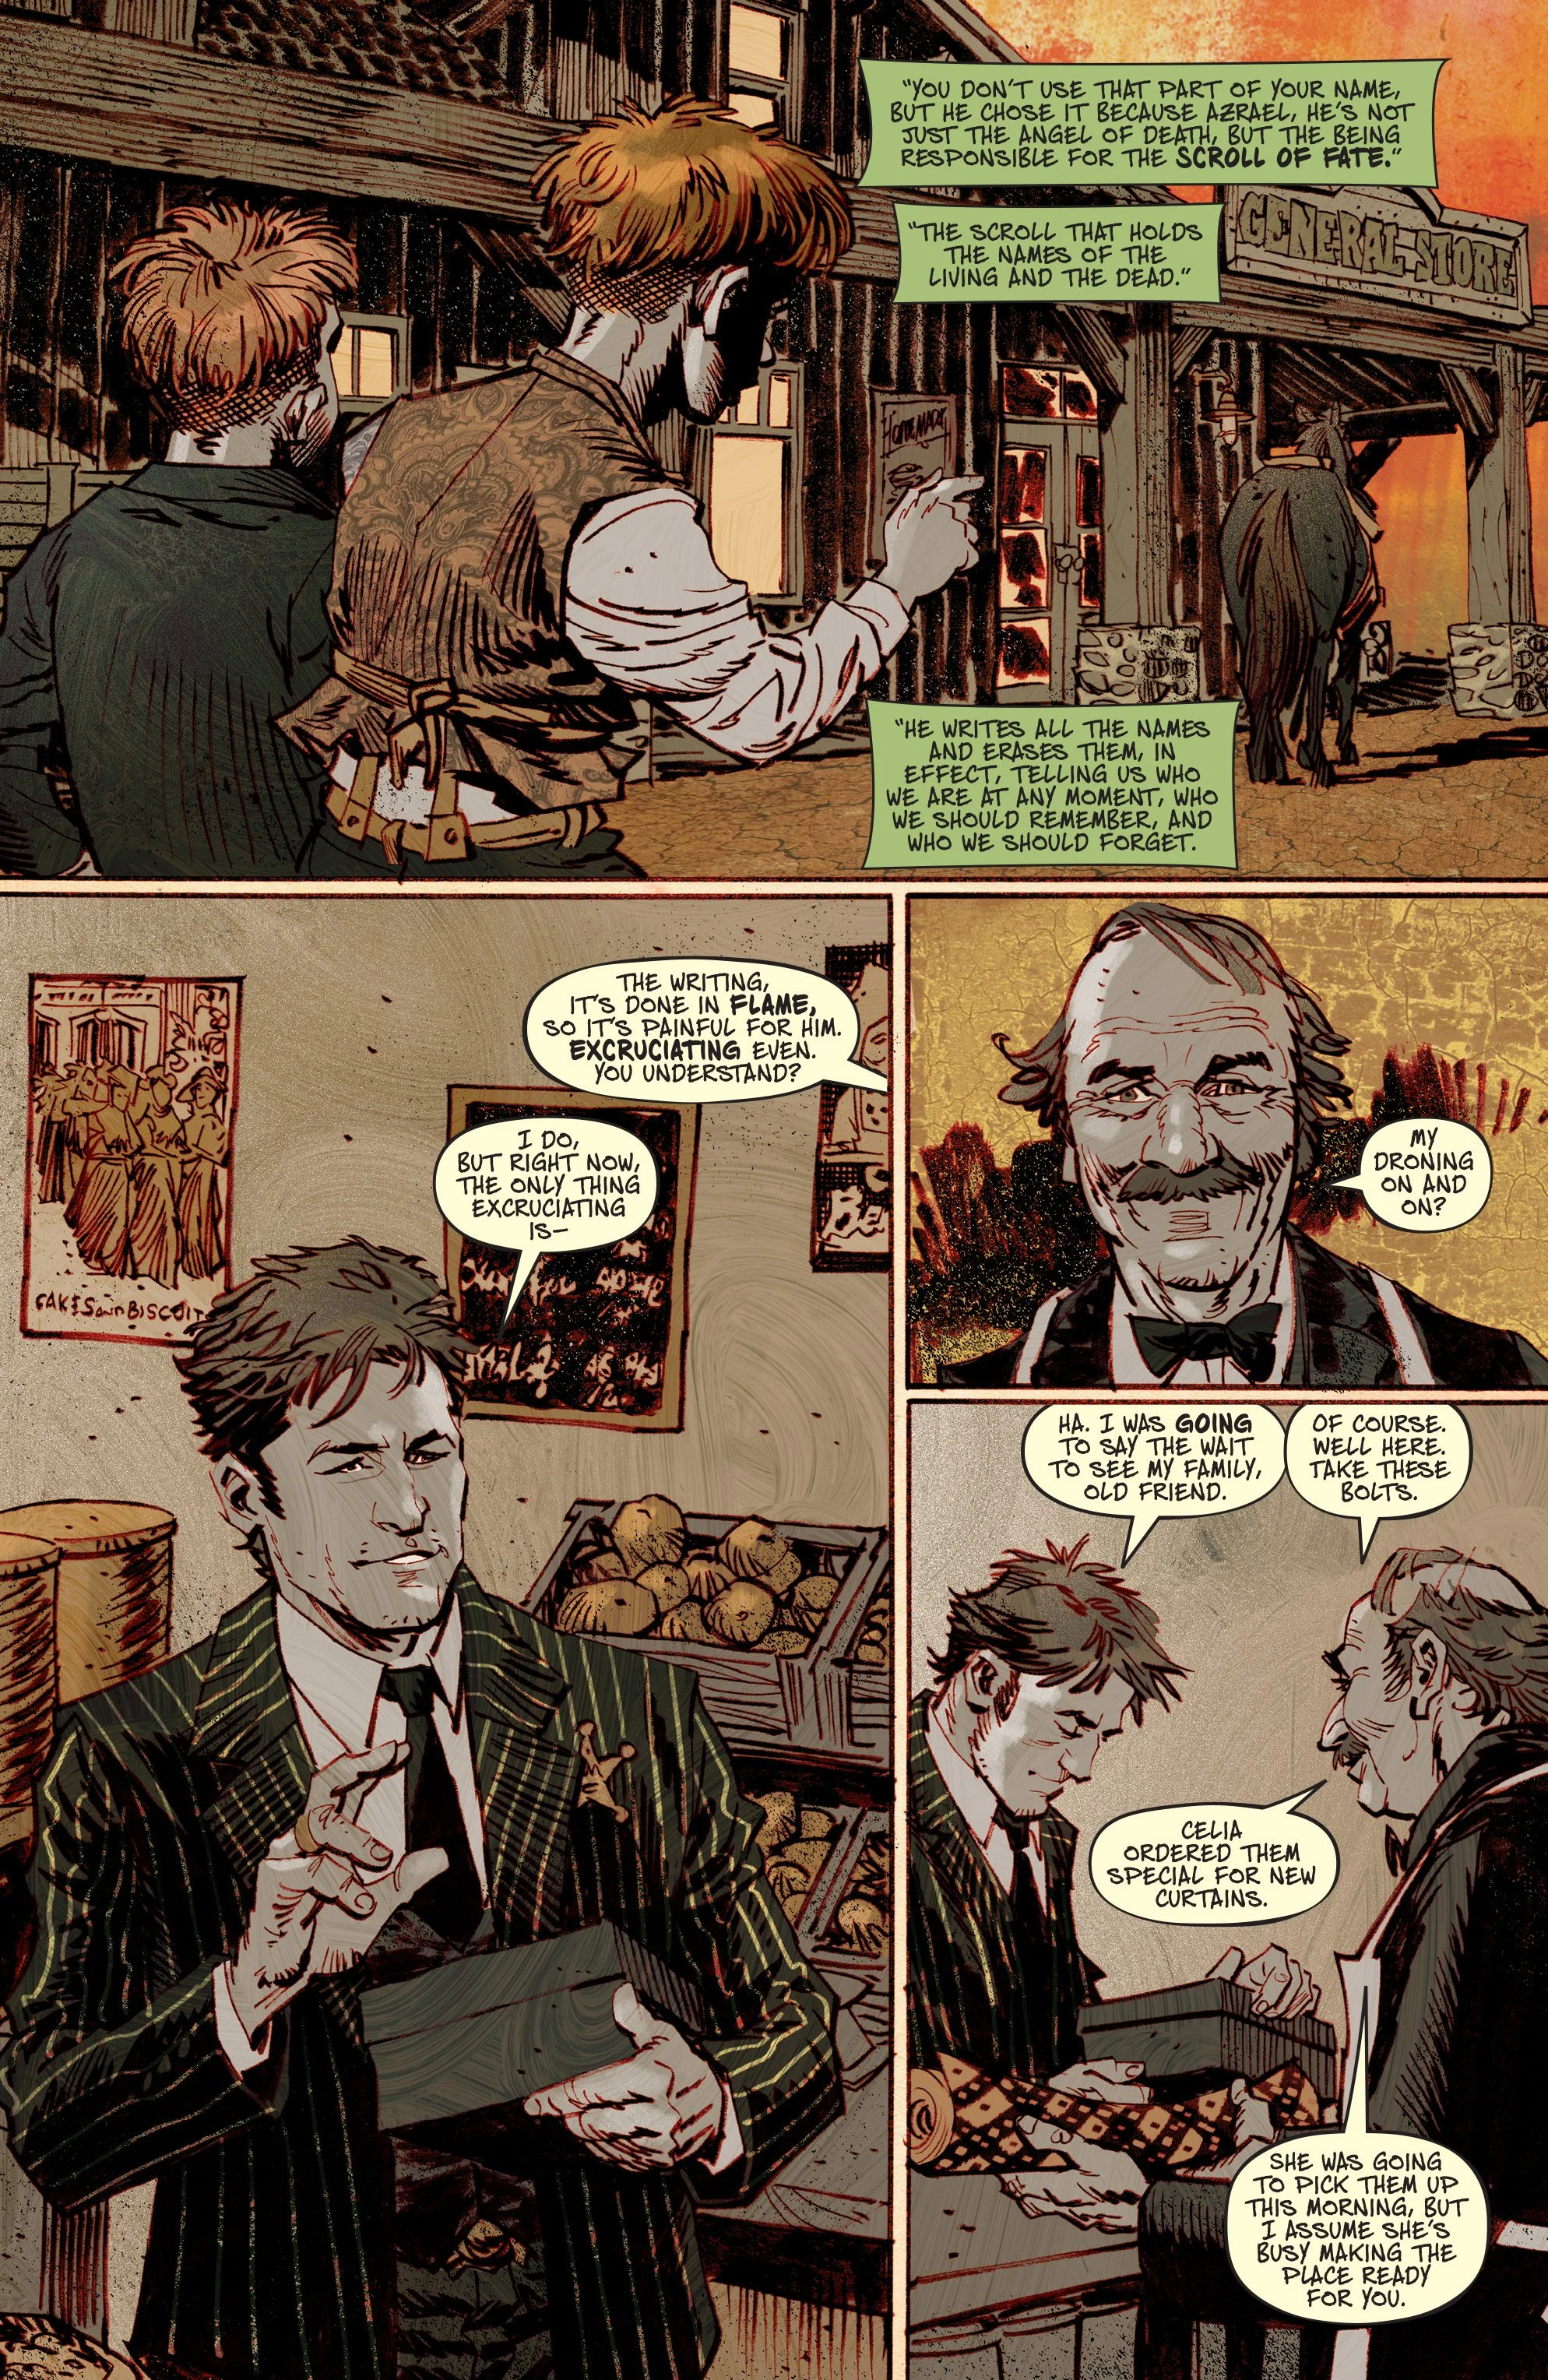
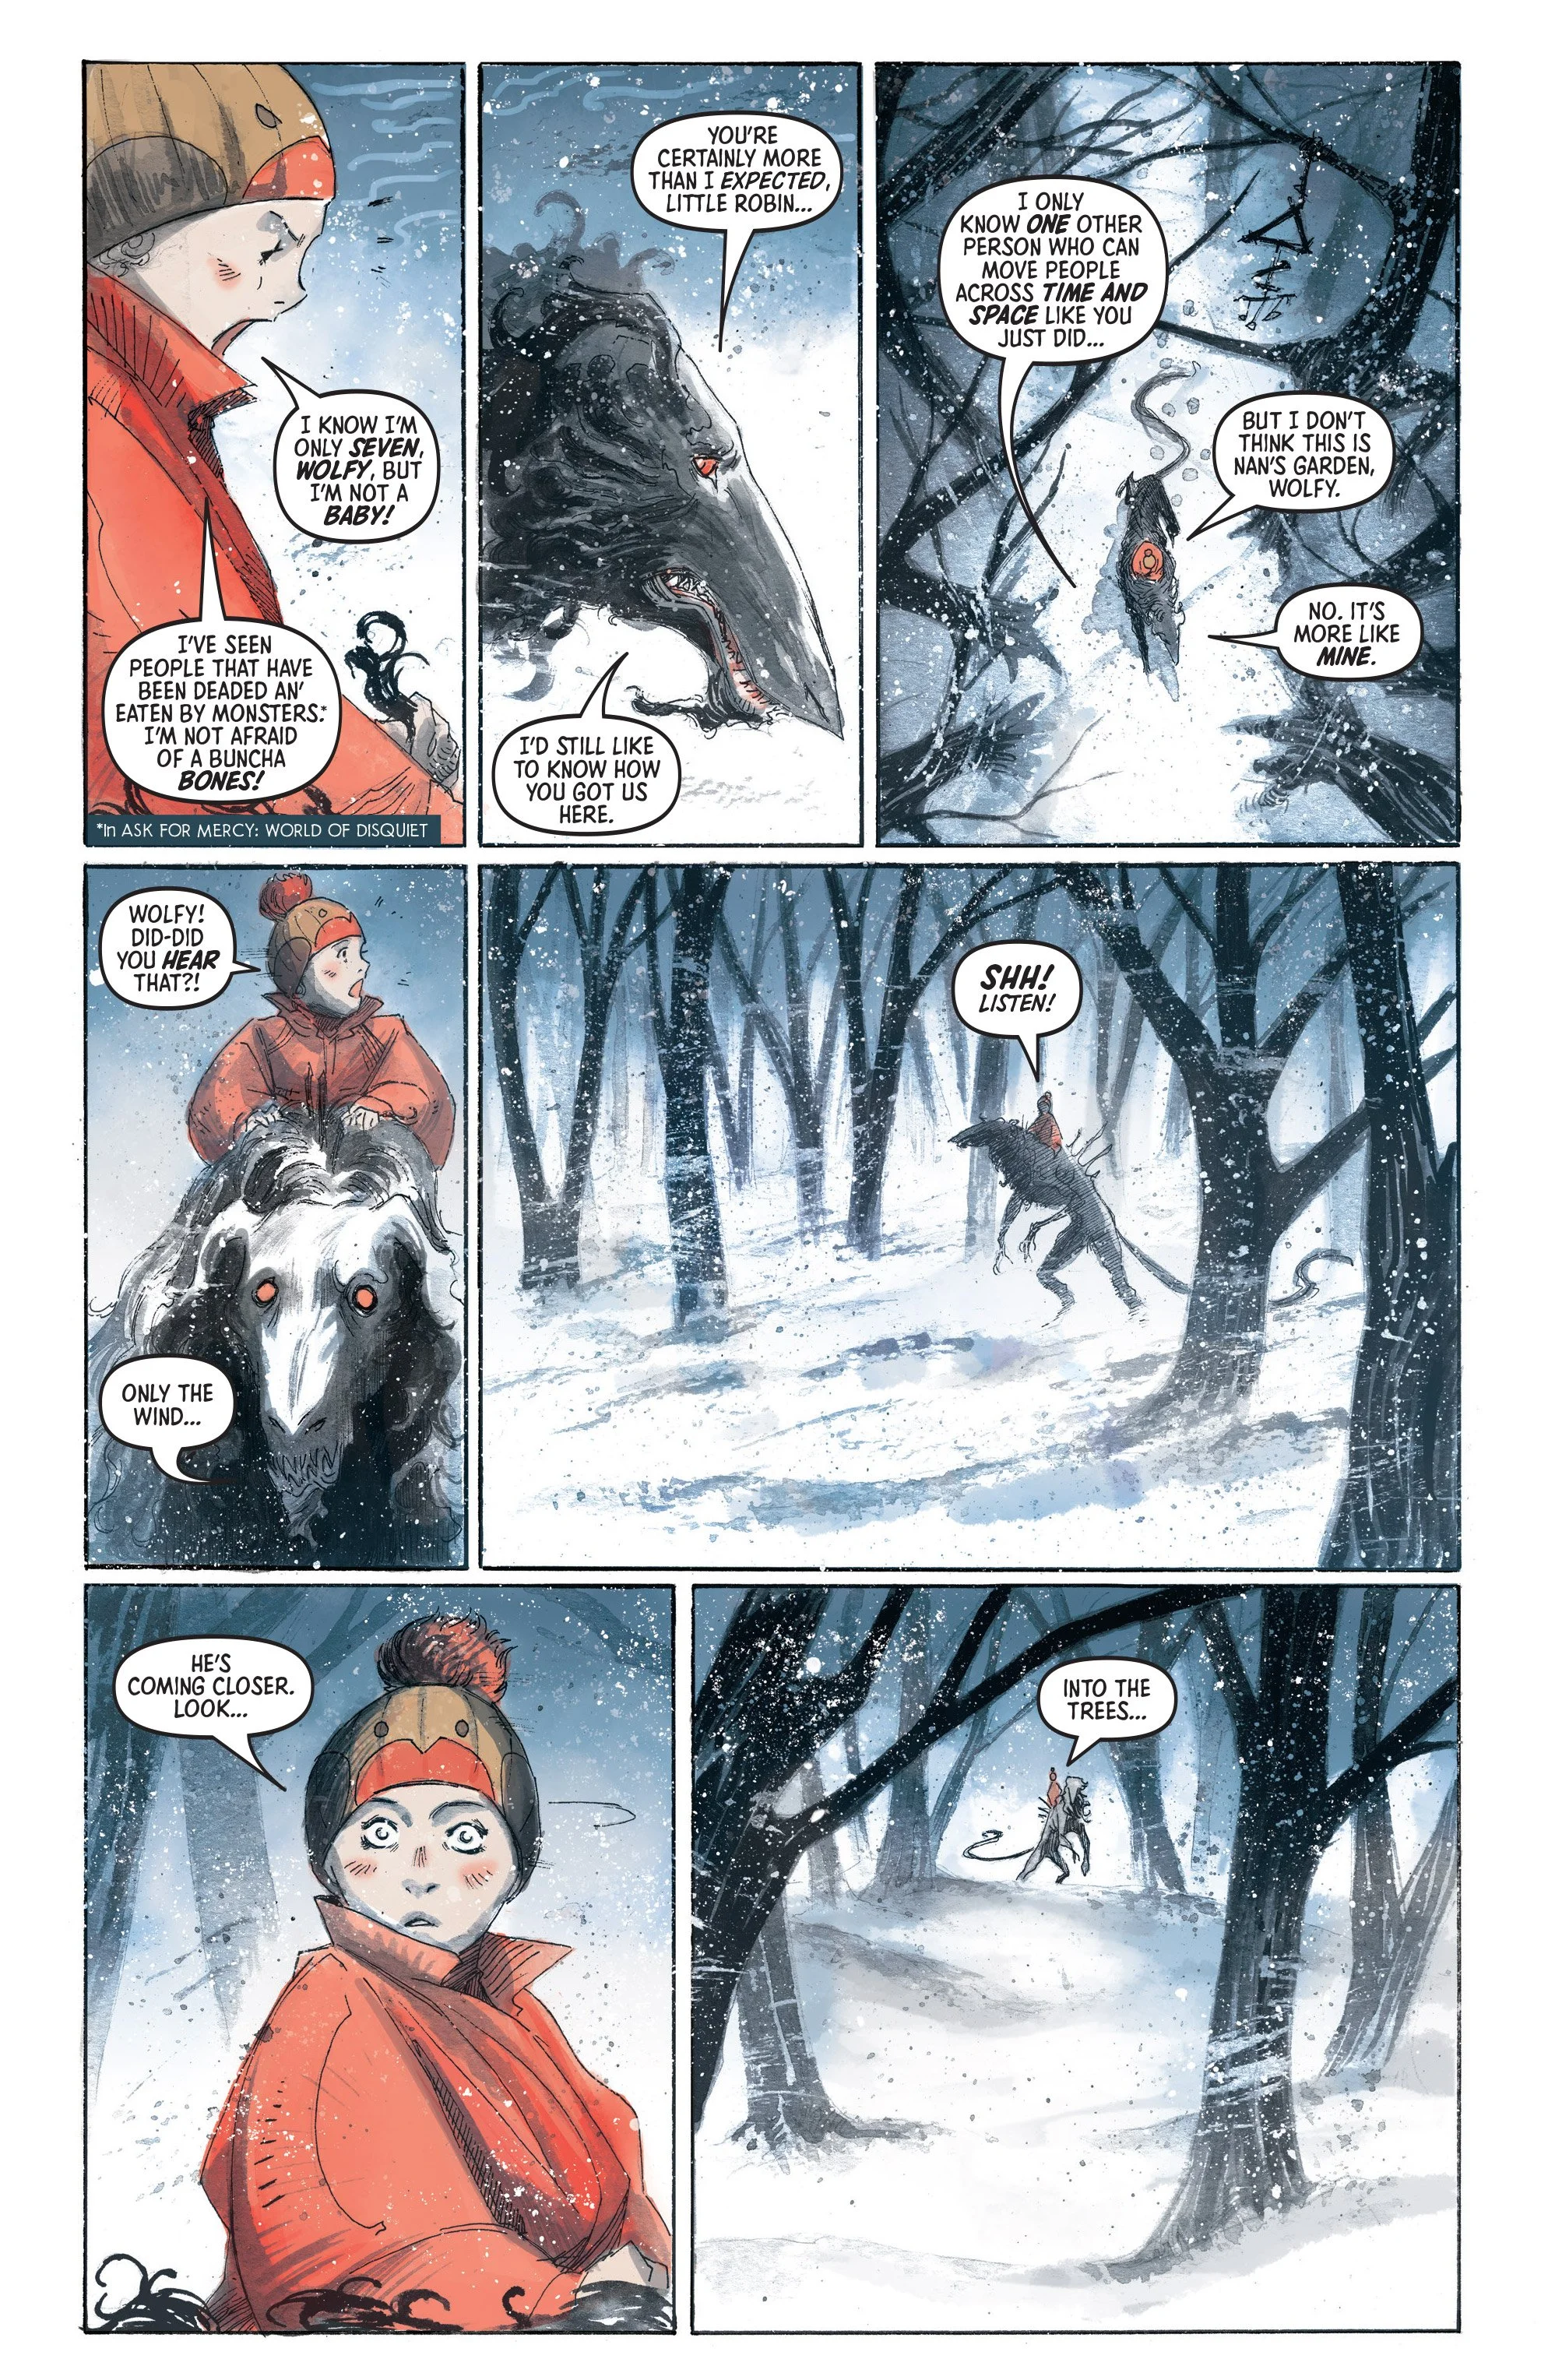
Barnstormers #5
Creative by Scott Snyder, Tula Lotay, Dee Cunniffe and Richard Starkings
Photo Credit: Comixology Originals via Best Jackett Press.

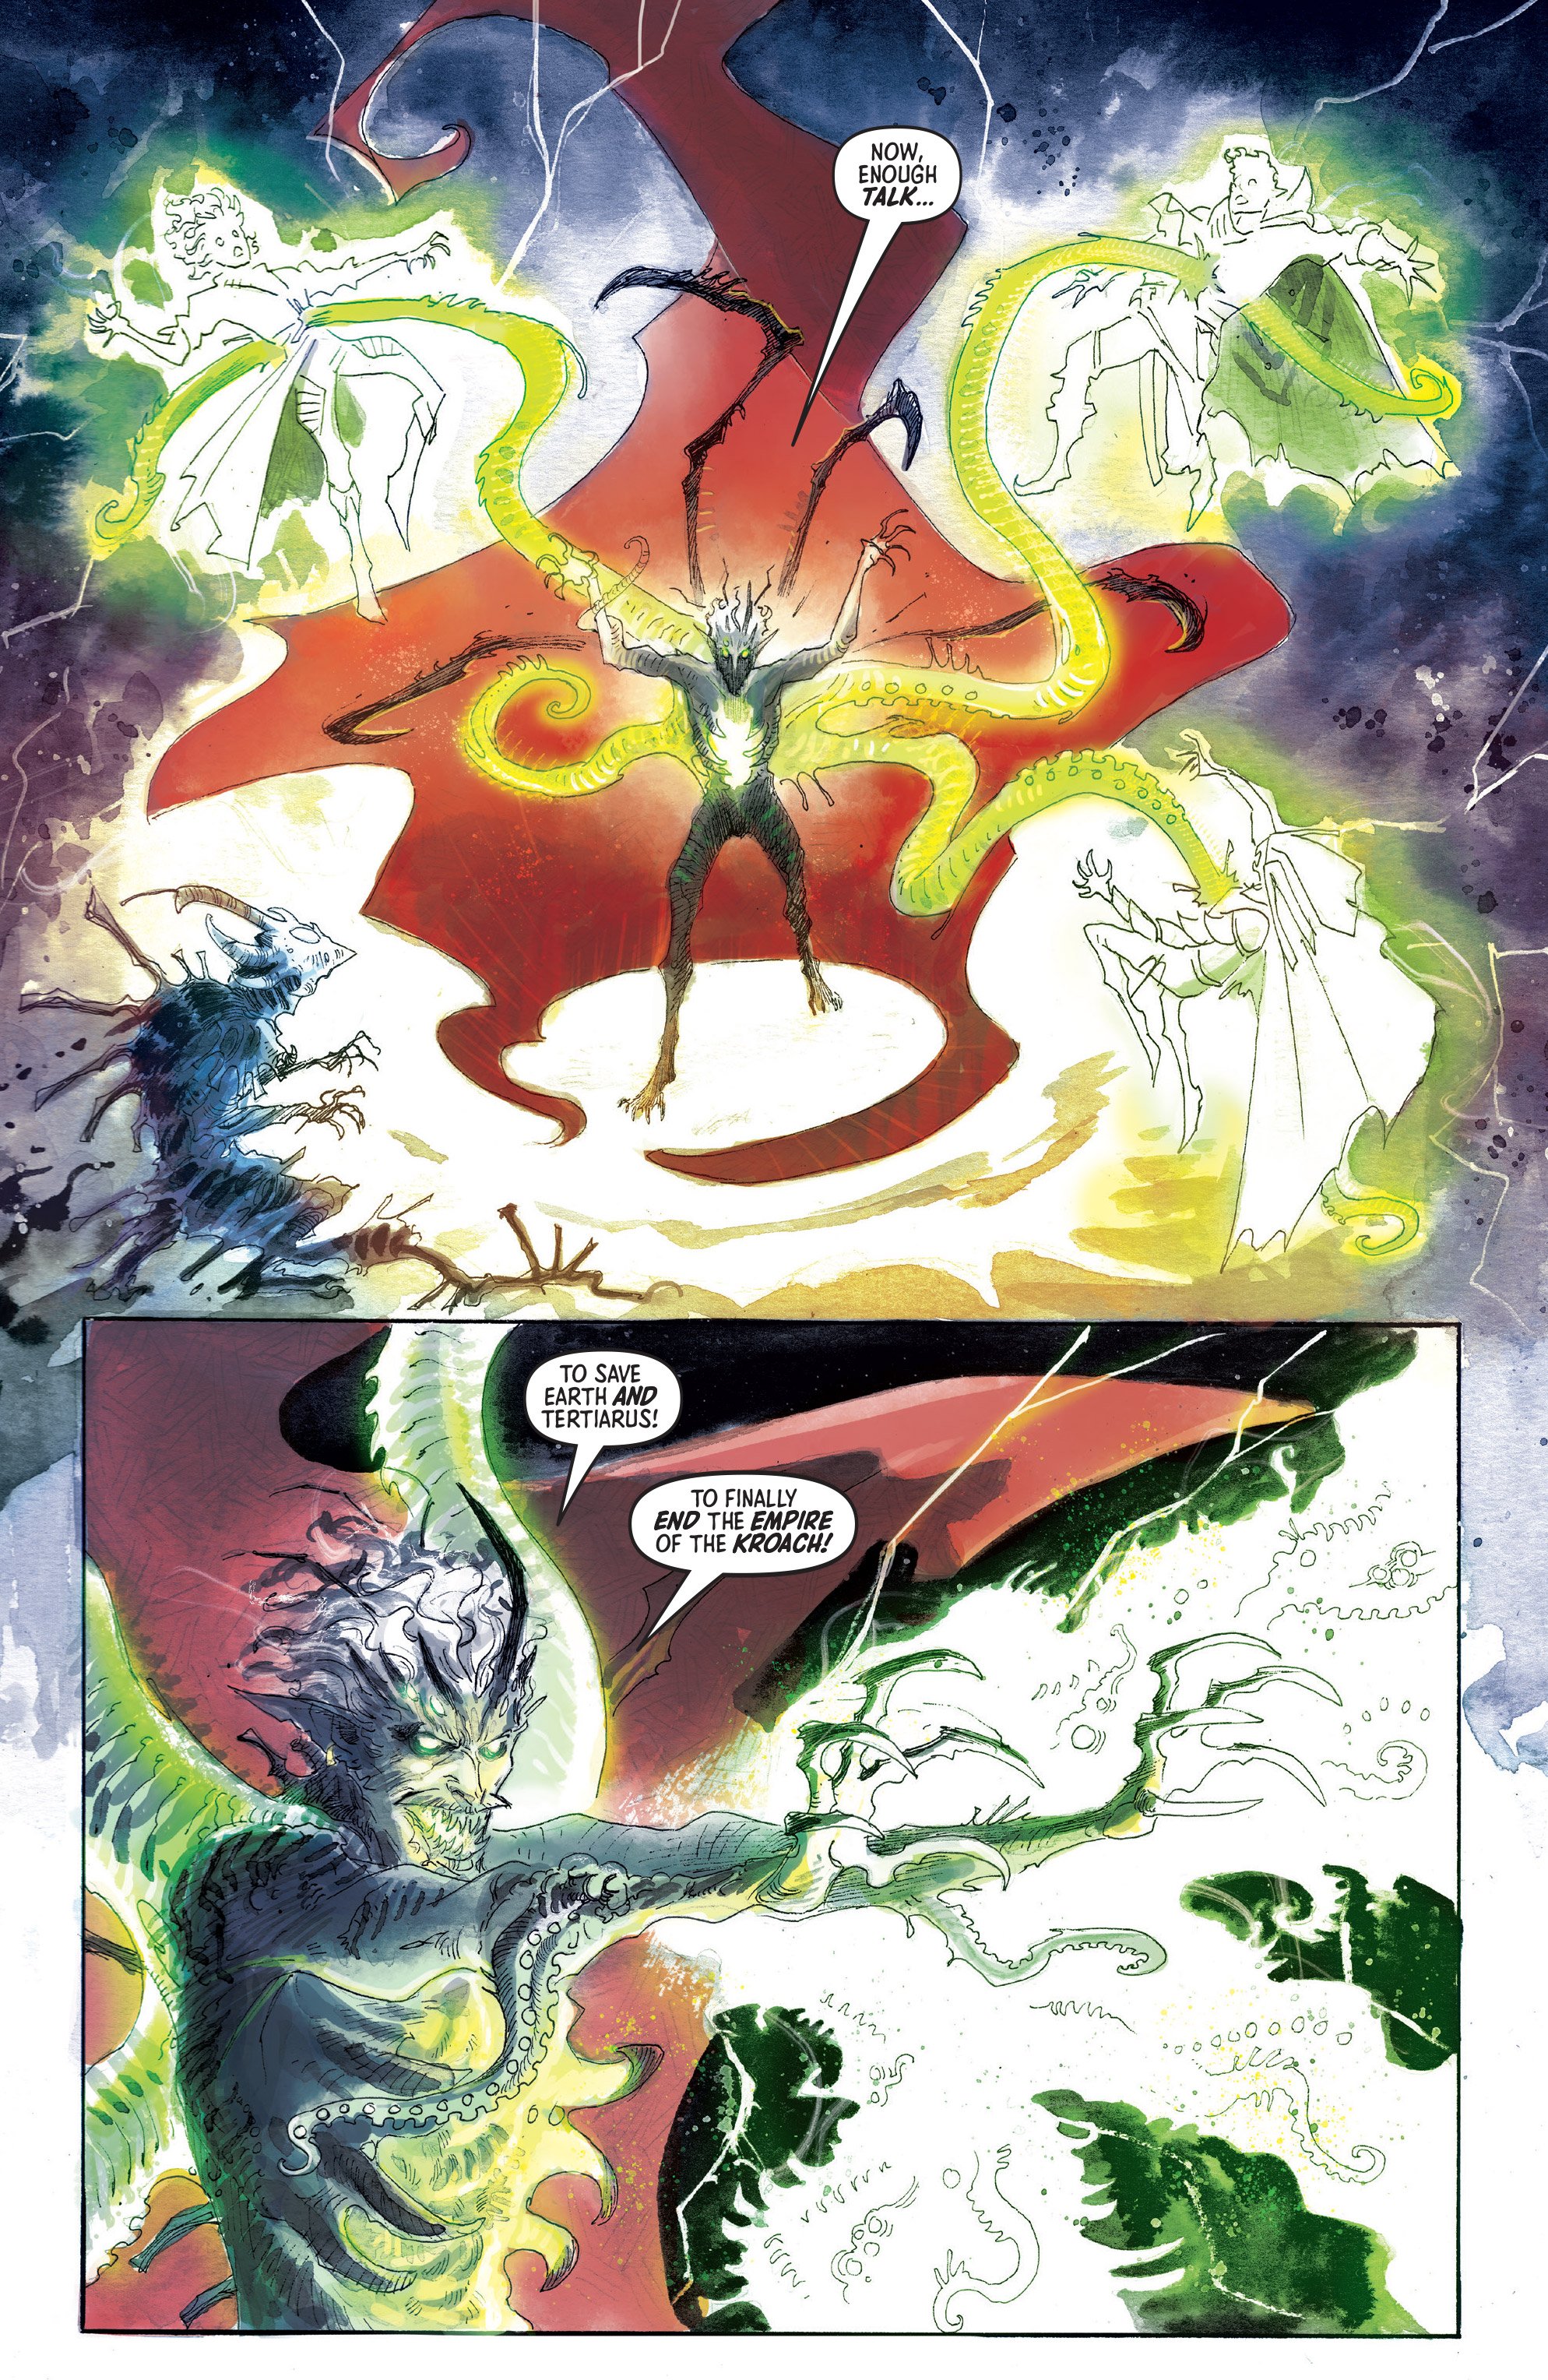
Barnstormers #5
Creative by Scott Snyder, Tula Lotay, Dee Cunniffe and Richard Starkings
Photo Credit: Comixology Originals via Best Jackett Press.
BREAKDOWN: The story of Bix and Tillie has been centered around the theme of rebirth. Both have come from pasts that they keep closed off but once together, they become new people. Snyder presents them a pair finding optimism in each other, even though both know it’s on borrowed time ala a dream. Throughout this series, readers have seen how hard they’ve fought to hang on to what they have together. The finale never loses sight of that idea. Even with mounting pressure and danger out of their hands, the pair fights to the bitter end to hang on to what they have. Even Zeke West has a moment of rebirth with this issue as he finds himself rededicated to finishing the job that has worn on him. Snyder sets a steady pace with excellent character moments sprinkled in heading towards its’ final act. Once there, the series concludes in a way that is fitting to its’ overall themes. There is nothing left on the table as the final panel is read. Excellent conclusion.
Every issue has been breathtaking to look at due to the phenomenal job by Lotay and Cunniffe. Capturing the feel of a historic period and giving it an energy all its’ own has been such a strength to the series. The coloring of the panels reflected the emotions of the characters involved with this issue. From Zeke’s darker tones reflecting on what is evitable to finishing his job, to the fleeting moments of savoring the dream in the sky between Bix and Tillie before making an attempt for a final push, Lotay locks in readers to basking in those panels. The push toward the final act jumps out with a great full page aerial shot that needs to be seen! It sets the tempo for the final run to the concluding portion of the book. The drama never sits in coach for this creative flight. Sensational final panels to close out the story on.

Barnstormers #5
Creative by Scott Snyder, Tula Lotay, Dee Cunniffe and Richard Starkings
Photo Credit: Comixology Originals via Best Jackett Press.

Barnstormers #5
Creative by Scott Snyder, Tula Lotay, Dee Cunniffe and Richard Starkings
Photo Credit: Comixology Originals via Best Jackett Press.
FINAL POINT: Barnstormers by Snyder, Lotay, Cunniffe and Starkings presents a story based around a pair of unlikely lovers who risk everything for an impossible new life. The story kept soaring to new heights with incredible writing paired with fantastic artwork. The complexity of Bix and Tillie’s characters engaged readers as they found themselves caught up in the spiraling drama unfolding around them. Heading into this final flight, readers will be left with a compelling adjournment to a must-have series for any comic book reader.
Hit me up on ODPHpod social media and let me know what you thought of Barnstormers by Snyder and Lotay. Thanks for reading!